
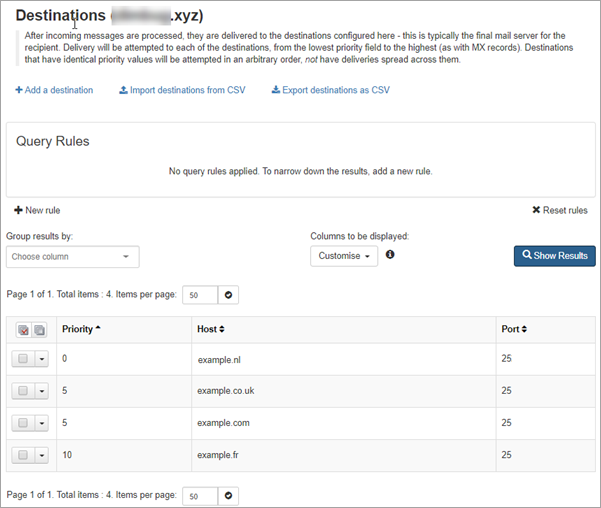
After incoming messages are processed, they are delivered to the destinations configured in Incoming > Destinations - this is typically the final mail server for the recipient. Delivery is attempted to each of the destinations, from the lowest priority to the highest (as with MX records). Destinations with identical property values are attempted in random order and do NOT have deliveries spread across them.
The Destination Routes you set up when adding a domain are listed here automatically but you can also add any manually.
In this page you can:
- Add, edit and delete destinations
- Perform a connection check
- Perform a catch-all check - Discover whether the destination mail server is a 'catch-all' for a specified domain (accepting mail for any address at that domain)
- Check Routes for Open Relays
- Carry out a Telnet test for a route by clicking on
 alongside the route.
Add Destination
- In the Admin or Domain Level Control Panel, select Incoming > Destinations. All existing destination servers are listed
- Click on + Add a destination at the top of the page
- In the Add a destination dialog enter:
- Priority - delivery is attempted from lowest priority to higher
- Host - destination server address
- Port - destination port
- Click Save
Perform Network Checks on Destination Server
You can perform a Connection check, Catch all check or Open relay check on a destination server.
- In the Admin or Domain Level Control Panel, select Incoming > Destinations
- In the list of destinations displayed, locate the destination to check
- Click on the dropdown to the left of the destination and select from the following:
- Connection check
- Catch all check
- Open relay check
The SMTP tab in the Network Tools page is displayed with the check running. For more information, see Network Tools